Service Tags
It is possible to add Service Tags to Courses, Parties (People and Organisations), Services and Instruments, and then make the Tags available to your website visitors as filters in the Course and Service Search and Instructor Search Widgets (described on the Website Widgets page here), and/or your standalone Shop Search function.
The sections below describe how to use Service Tags.
Key Principle: Uniqueness of Tag Names
It is important to note that all Service Tags (and Tag Categories) you create must have a unique name. For this reason, we would recommend that Tags with Yes/No or True/False answers aren't deployed into your Swiftlier HQ.
Should you wish to use Tags with a Yes/No answer, we would suggest re-thinking the tags. For example, if the Tag Category is Drop Off Course, you could set the answers (tag names) as "Drop Off" instead of "Yes" and "Stay & Play" instead of "No".
Tag Categories
It is possible to organise Tags into Tag Categories, so that they can be grouped thematically and displayed in a more organised fashion on a Course and Service Search widget and your Shop Search.
To create a new Tag Category, in the Swiftlier HQ, navigate to Settings and click on Service Tags. Then click on Add Tag. On the left side of the screen, under Parent Tag Category, you will see the button labelled Add new tag category.
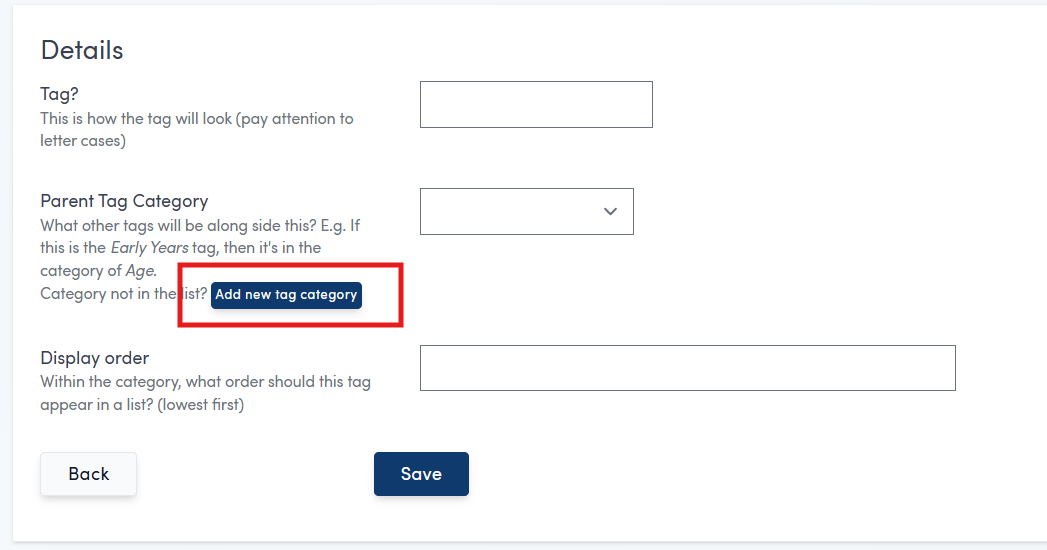
Click this button, and you will be asked for the name of the Category and the Display Order (which determines the order of Tag Categories when Tags are shown on the Course and Service Search widget). Fill in the fields, and click Save, and you will have Tag Category available for you to use.
Note: It is not currently possible to edit Tag Categories after creation, so please enter the information carefully. Should you wish to make an edit, please contact your Customer Success representative for assistance.
Creating Service Tags
Service Tags are managed from the Settings in your Swiftlier HQ. Go to Settings and then click on Service Tags - you will see a list of current Tags and Tag Categories.
Click on the Add Tag button in the top right corner of the screen:

Enter the name of the Tag you wish to add. This name will display in your online shop, and also the name you will use when instructing the Course and Service Search widget to show or hide the tag. For the latter purpose, the tag name is case sensitive.
Select the Parent Tag Category - this is mandatory (all tags must be grouped via a Tag Category).
Enter a Display Order. This will determine the order in which tags are displayed within a Category (lowest numbers are first).
Click Save. You will see that your new tag has been added to the list.
Applying Default Service Tags based on Category
It is possible to dictate that new courses and services assigned to a certain category should be automatically assigned particular tags. This saves you from remembering to apply common tags based on Category every new course individually.
For example, you might wish for all new courses added to the Holiday category to be tagged with 'Holiday Course' in a Tag category of 'Type'. That way, when each new half-term or holiday course is added, it will inherit the correct tags (provided it has been put in the correct category).
To do this:
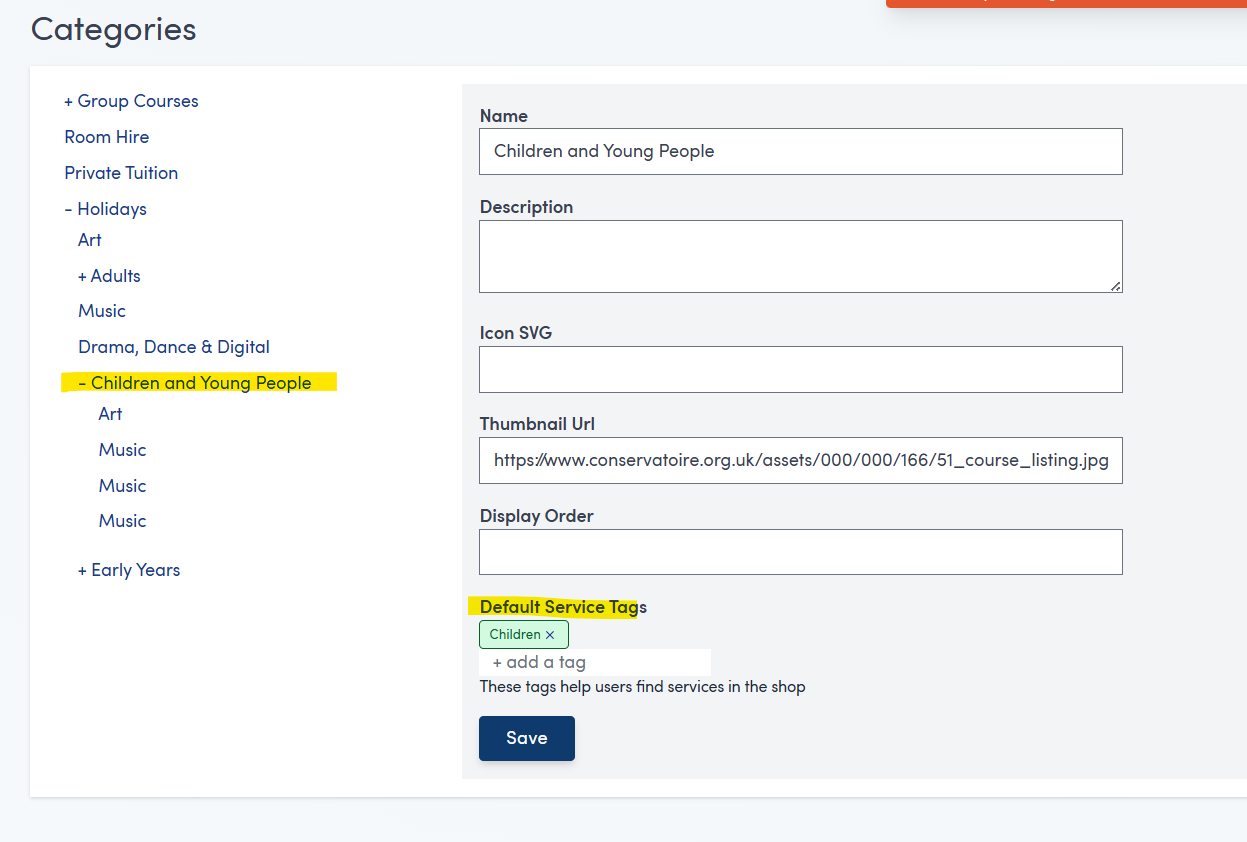
- Navigate to Settings
- Click Categories
- Click the Category you wish to manage (in the above example, it would be Holidays)
- Under Default Service Tags, type the first few letters of the Tag you want to assign to every course in the Holidays category and then click on it to select.
- Click Save.
From this point on, any new courses that are created and put into that Category will automatically have the Category's default tags set against them.
Note: if you are changing a Course's category (rather than setting up a brand new Course), it will not pick up the default tags from the category, and nor will the Course discard any tags that have been set already.
Assigning a Tag to a Course or Service
The final step is to assign a tag to the relevant Course or Service.
To do this:
- Use the Smart Search (CRTL+F) to find the course or service you're interested in.
- On the left hand side, in the Service Tags field, click the +add a tag option.
- Type the first few letters of the tag you'd like to add.
- Click the tag name to add the tag to the course or service.
This will assign that tag to the course or service selected.
Assigning a Tag to a Party (Person/Organisation)
To assign a tag to a person or organisation:
- Use the Smart Search (CTRL+F) to find the person or organisation you want to tag.
- In the top left, underneath the name, click the +add a tag option.
- Type the first few letters of the tag you'd like to add.
- Click the tag name to add the tag to the person or organisation.